Tuesday, April 24, 2012

You are my sunshine

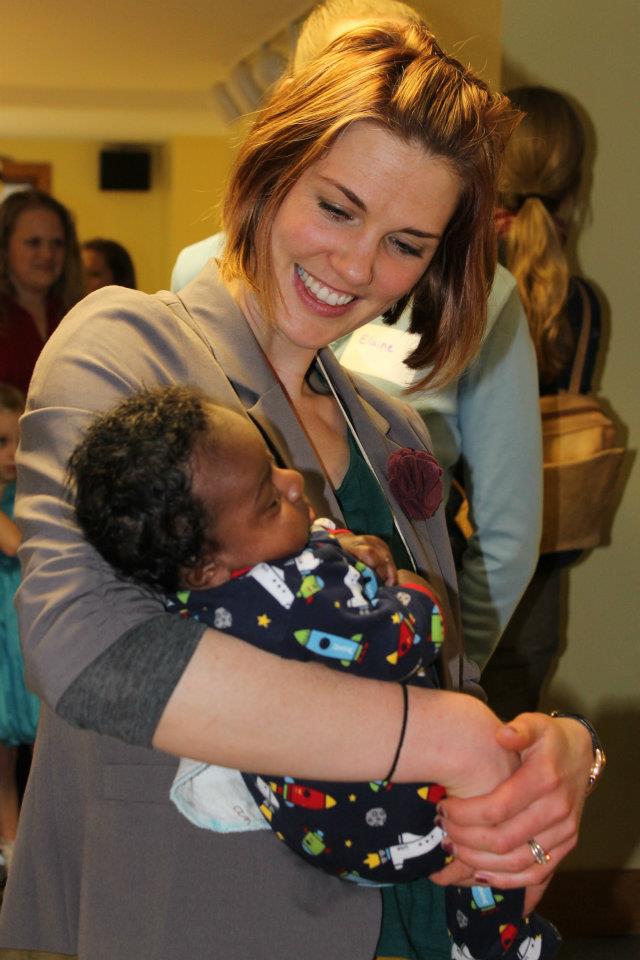
Poor Huds, he is one sick little dude.  At least his bottom side anyway.  He actually seems as happy as a clam cuddling with mama and playing with his tractors on the floor, that is, until the diarrhea explosions come, which is happening about every 45 ms.  Right now we are in between bouts and he is playing, so I thought I would do a quick post!
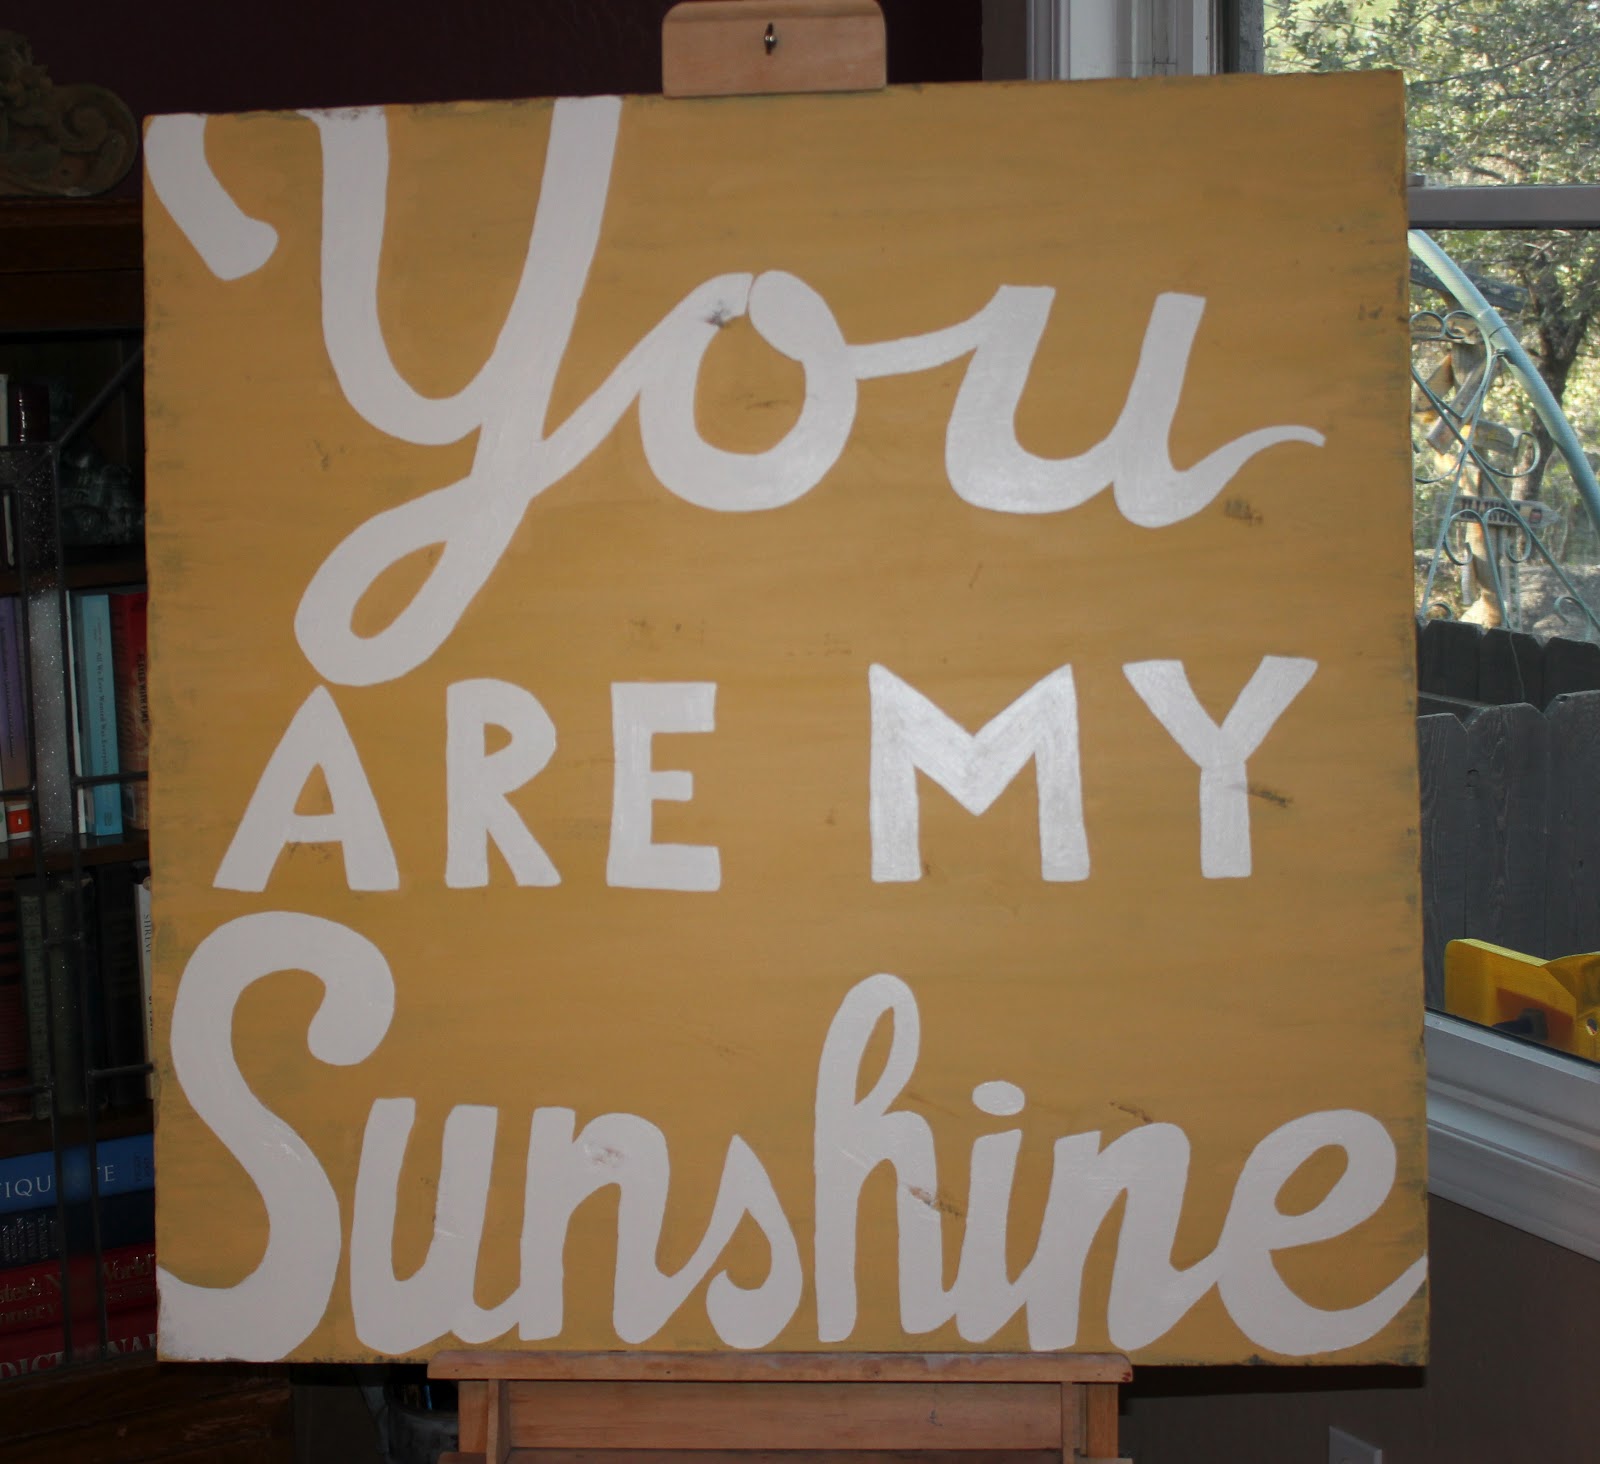
One of my favorite parts about being home in Arizona was working on the Meg’s shower present; a homemade/handmade YOU ARE MY SUNSHINE sign.  Meg pinned this pin on interest,  and as soon as my mom and I saw it, we knew that we could make it.  And make it WE did!  By far the best part about the project was that it was a group effort – the entire family worked on it at one point or another. Here’s how it went down - 
Tools
   mdf ply wood for board (5/8 in.) 
   hammer
   leatherman knife but any kind of utility knife will work
   paint - we used, grey yellow and white
   lots of helping hands

Step One – Prep board - My dad bought the mdf ply woodand  had it ready to go before we got there. Thanks Dad!
Step Two – Destress - I was the lucky one who got the job of distressing the board.  It was an awesome stress relief and a great way to kick of the vaca...My dad must have known that those Junior Highers can be awfully antsy the week before Spring Break.
Instructions – Hit with hammer. Hit hard. From all angles. Have fun. Really rough it up. - Then use *knife to shave off edges and further rough up the center.

Step Three - paint - We started with a coat of gray paint – It doesn’t have to be perfect or evenly applied, it will only show in parts from under the yellow.  Once it dries top with yellow paint.  I did about three coats of the yellow.  I started with a very thin layer leaving pleanty of grey showing through, thicker in the middle and thinner on the out side.  I applied the next coat a little bit heavier.  And the final coat was very thin and just to fill in spots that need a little more yellow.  *I think the key here is to start light and add more as you go, dab some of the paint of on the lid or scratch piece of wood, and brush on in light strokes. Have fun.  The distressed look is very forgiving.


Step 31/2 - Keep little guys busy painting with water. Thanks for the help Stephan and Amanda.


Step four – Wording – We thought about printing the words in fun fonts and then tracing them on the board but in the end we decided to free-hand the writing.  My mom sketched  the words with a pencil and then Nat, Britt, and I filled it in with white paint using small watercolor paint brushes.  We made several adjustments to the letters as we were painting, the whole process was surprisingly forgiving. 

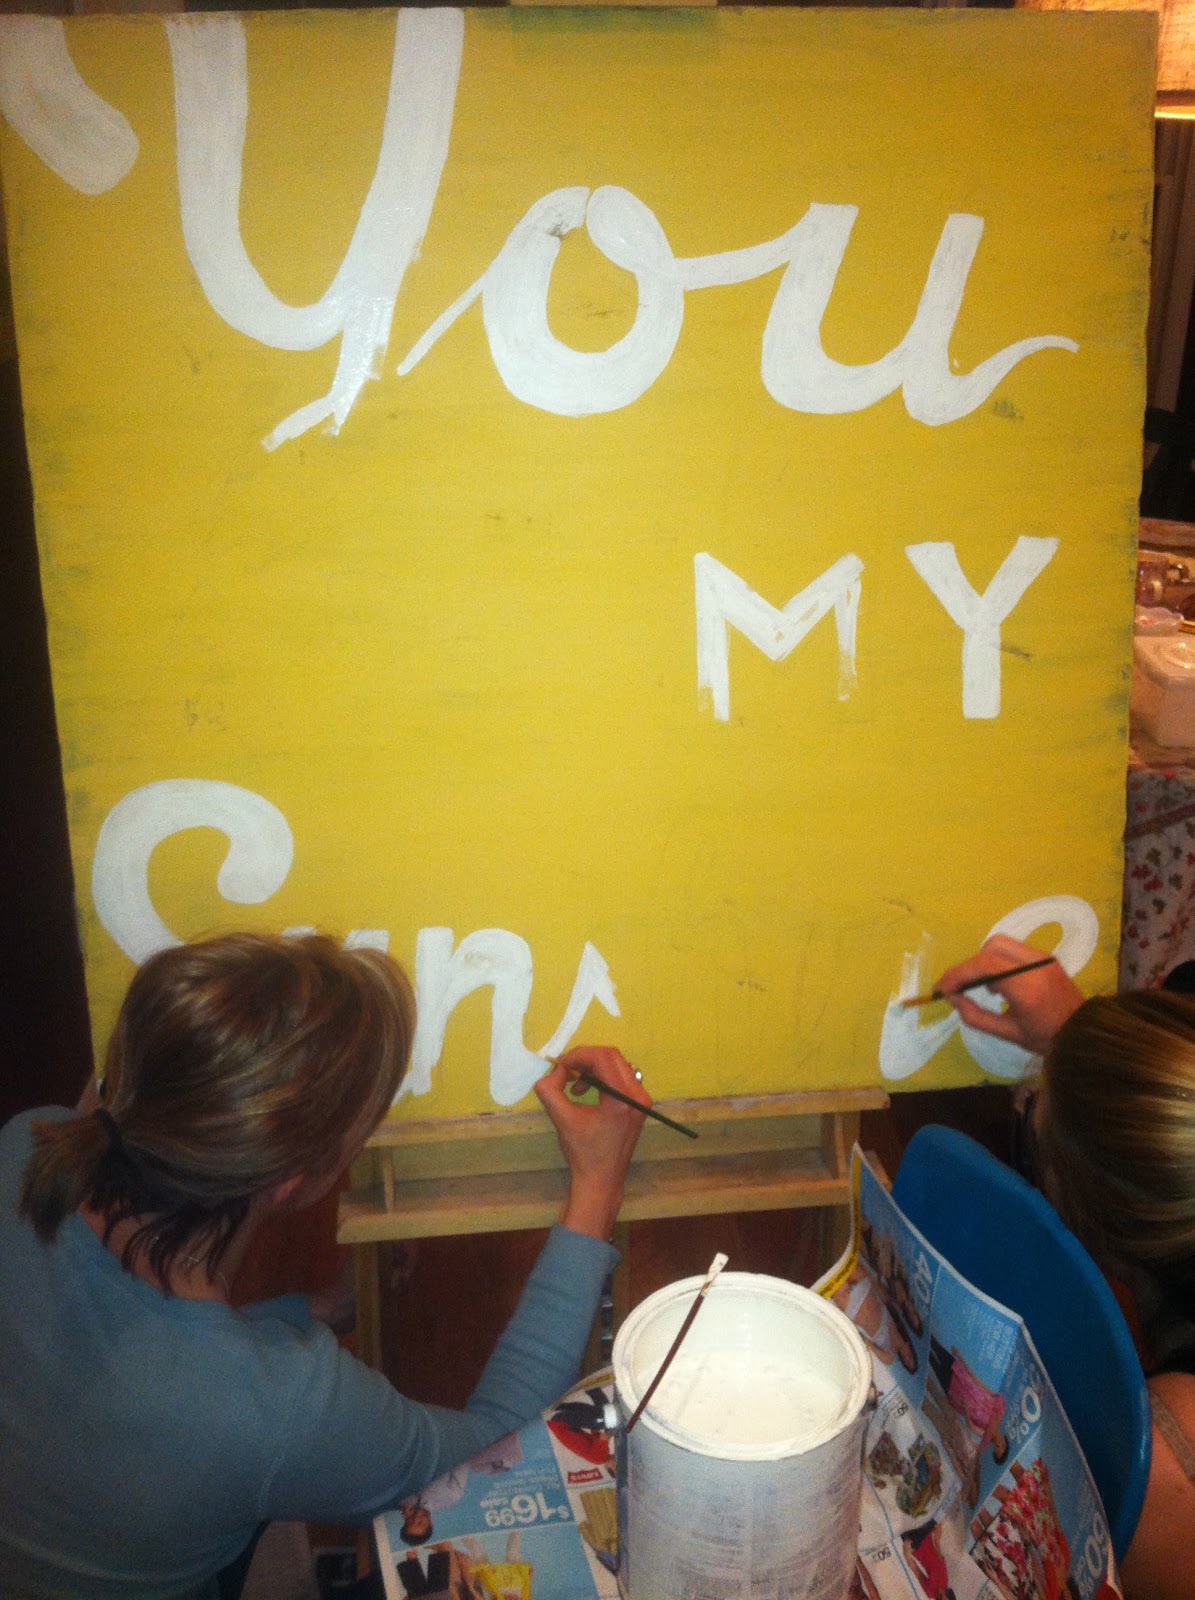
Britt and I painting away! 

I absolutely loved working with the fam. on this project.  It was really special to have  everyone contributing, adding little touches to create this beautiful piece of art.  A piece that is so much better than if one of us had made it alone.  I think we inadvertently started a new Acklin family “new baby” tradition – a family a project for the nursery!  Before Hudson was born I had wanted to paint a tree on the nursery wall,  my sisters were coming out for the weekend and I thought it would be the perfect project for us to work on.  My dad ended up drawing the tree and emailing it us to, we projected it onto the wall and traces his drawing, we all painted it, and then the whole family (Minnesota included) collected falling leaves and shipped them to us to paste on the tree!  I loved the project and thought it represented a beautiful life metaphor for parenting and raising a child, it took all of these loving hands to participate, contribute and add their own special touch to create this beautiful project, exactly how it is going to take those same hands (and more) to contribute to raising this munchkin and provide him with rich, diverse, and beautiful life experience.  It truly does take a village!  Thanks to everyone, we couldn't do it without our "village"!


Sunday, April 22, 2012

Spring Break Part II

Hudson and I parted with Colin on Wednesday, after a great night of dinner games and conversation at the Charming Casa Romsaas. THANKS ERIK and KIKI, you guys are awesome!!!
We headed to Arizona, although Hudson’s internal sleep clock stayed in MN on central time.  Arizona was wonderful, the weather was perfect and it' always nice to be home. But by far the best part was that all the sisters were together (and mom and dad of course!) and we there to celebrate the next generation of Acklin girls.  Sorry, Brain, her last name may be Long but she is going to be an Acklin GIRL!!!  Hudson's birth was great, but the first GIRL niece, it is just SO exciting, we are going to have so much fun with her!

The main reason for the reunion was the shower, so that is pretty much what we did.  There was plenty of chatting, catching up, laughing and playing with Hudson but we also had a great time working on all the shower details.  Unfortunately and fortunately, I bought a new camera while we were there which means I will have much better pictures on the blog soon.  But since I didn’t have time to read the instructions or even take a few pictures before the shower, I DIDN’T get very good pictures of all the details :( but here is a peek at what I did get.  
 Cousin Stephen -I had to start with this one, does it get any cuter? I don't think so.

Meg's nursery is going to have all the letters of the alphabet wrapped in beautiful yarn on one wall, (I can't wait to show pictures of her nursery, it is going to be PERFECT!!!) so that was sort of the theme we went with.  
The sweet station
 
How do kids instinctively know to go for the desserts?? For some reason, I have a feeling if those were bran muffins he wouldn't have been nearly as interested.
My mom found these great metal stands at a garage sale.  Nat made fun signs to go in them. 
Sad, this picture is hard to see, the drink stand was super cute! Good work on the banner, Nat!

 The Guess Meg's Belly circumference game


Sneak peek of the nursery!!

 Some of Meg's best girl friends, most of them since she was a baby! 
One of the most special parts of the shower, which we didn't realize until later, was that almost of the older women invited to this shower had also attended my mom's baby shower for Meg 30 years ago! Pretty special.
 Sorry family - This is a pretty horrible picture all around, I just couldn't resist! LOOK at Pa and Hudson. TOO FUNNY!
 BUBBLES!!!


Thursday, April 19, 2012

Spring Break - Part One

Cousin love!
Wow!!!! What a week, it was an absolute whirlwind of family, fun, love, laughter, and travel! We started in Casper, landed in Minneapolis, spent some time in Knife River, parted ways with Colin and Hudson and I were off to Arizona.  It was a lot to squeeze into a week but Hudson was a champion traveler, he loves seeing his family so much, he was all smiles on the plane rides.  The biggest downfall of the week was that he got stuck in the Minnesota time zone which resulted in 3:40 a.m wake up time in AZ.  His mom was not a happy camper about this but THANK GOODNESS his Pa didn't seem to mind the early morning company.

Minnesota was the prefect restful and rejuvenating, retreat. We kicked it off with a big family lunch in the cities. Thanks for hosting Charlene.

Hudson and his blond cousins!
Hudson and Grant making lunch.
Great Grandma Coralis.


Knife River was as beautiful as ever, we managed to fit a little bit of everything in, family bonding, hikes, walks, reading, games, good food and fun, but mostly a lot of staring at and playing with N.  He was by far the main attraction and highlight...


Grandpa and his grandsons.

Tia & N baby shower:
 Noah's many admirers! It was so fun meeting the amazing community of women that Linnea is a part of.


Great Grandpa and his boys!

Saturday, April 14, 2012

DIY Bee Bunting


We had an amazing whirl wind Spring Break which I will share more in detail later today.  One of the many highlights though, was getting to go to a shower for little Noah bee and Linnea.  It was so fun to get to celebrate the new mama and new life and so special to meet the amazing community of women who love Linnea and Noah so much.  The shower was Bee themed, I saw a bunting on pinterest that I loved and want to make something similar for the shower (click her to see the inspiration).   It was easy to make and should a fun little keepsake.   

Tools -
     -fabric
     -iron on fabric transfers ( I used one that I could print on from my printer, it you are an artist you could probably draw your image too)
      - ribbon
      - iron, serrated scissors, pencil, 

1. Print your image on to the transfer paper.  I found my image on line by searching black and white bumble bee...I hope this ins't illegal but I just saved the image as a word doc and then used it (here is the lind to the one I used bee).

3. Choose your fabric - I chose a light fabric because the iron on paper/fabric I was using was white.
4. Make a template of the shape you want your bunting to be (I didn't have any paper large enough so I recycled a large envelope).  Trace you template and cut your buntings. *Apparently, if you use serrated scissors your fabric won't fray.  I thought the triangle edges from the scissors looked awesome on the bunting and I loved that it saved me an extra step - not having to sew the sides to keep them from fraying


4.  Iron your image onto the bunting. 
 5. Find a friend who knows how to sew and doesn't mind teaching you and letting you use her sewing machine. THANKS BRITNI!!!!  Space your buntings a long your ribbon and sew them into place.
 The finished project!

More pics to come of the rest of the shower and the trip to AZ and MN!!!