Sunday, January 29, 2012

A new shade of things

Well, we had our real first causualty with Hudson last week.   Somehow he got a hold of one of our living room lamps and broke it. He is 16 months now and has been cruising around for quite a while, so I am not complaining and actually I am rather shocked that something hadn't broken sooner, he is after all my child!!! It was a beautiful blue/turquoise lamp that I loved. But it was just a lamp that I got at TJmax, nothing too special and really not a big deal. But to be honest, I was a little disappointed because it was a really CUTE  lamp and it was PERFECT in the room and I thought where will I ever find another lamp that is that perfect and that price?????

The reality is I probably wouldn't, so I had to take things into my own hands and here is what I came up with, with the help of my lovely mother!!! It is 100 times better than what I had before. :) :) :)  AND what a great life lesson! You can get all worked up and cry over a spilt lamp or you can go to the thrift store, find a sweet lamp, throw in some beautiful fabric that you have been dying to use and get creative.  Taking something broken and making something new, beautiful, and one of a kind. I love it!!


There are several DIY tutorials for how to cover a lamp shade but they weren't very descriptive or complete so here is our tutorial, complete with our lessons learned.

Tools -
   Scissors
   Spray adhesive, we used High strength 90 and this was probably too strong
   Craft brush and craft glue
   Fabric and a cool old lamp

STEP 1 - Make a template - This step is important and will help you in the end.
Trace your lamp shade on to a large sheet of paper, newspaper, butcher paper, or whatever you have. Place the lamp on one end of the paper on its side, starting with the seam, trace the outline of the lampshade as you roll it across the paper. Then decide how much fabric you want/need to fold over the top and bottom of the lampshade, anywhere between 1/4 in - 1 in. is probably right. Add this amount to the top and bottom of your template. ***The more exact you are here the better! You don't want to have to trim the fabric or have it uneven on the inside because you do see the inside of the lamp shade depending on where you are in a room. 

STEP 2 - Cutting - Cut out your template and then trace it onto your fabric. Cut your fabric.


STEP 3 - Set your self up for success :) - Use clothes pins to place your fabric on your lamp shade and see that everything aligns how you want it to. (You can also do this with your template before you cut your fabric to double check your measurements)


STEP 4 - Prep  - Spray glue is crazy, sticky, gooey stuff, so we protected our lamp with a plastic bag and probably should have protected the surrounding area a little better.  PRACTICE spraying the glue before you start on your shade, so you know how much pressure  to apply and how it sprays.


STEP 5 - Gluing  - We found it was easier to work with the shade on the lamp, and to go in small sections about 4 inches at a time.   Starting at the seam, we unpinned the first 4 inches of the fabric, one of us held the fabric out as the other sprayed.  Once the surface was evenly coated we smoothed the fabric down. and then re-pinned the tops and bottom to hold everything in place.  THEN we un-pinned the rest of the fabric and continued to work in about 4 inch sections.

STEP 6 - Finishing top and bottom - To avoid getting glue everywhere, we did not attempt to spray the glue the fabric to the top and bottom of the shade. Instead, once the face was dry (10-15 ms.) we used modpodge and a sponge brush to glue fabric to top and bottom, folding over appx 1/2" and working around the shade. This also let us have better control and make a nicer cleaner line on the inside of the shade.


Grab a book, sit back and relax by the light of your gorgeous new lamp shade!

Monday, January 23, 2012

What a week!

Well, we didn't finish the sun room, but who wants to be working inside on the sunroom when the sun is shining outside?  Not the Betzlers!  We had an absolute blast with Cindy and are so thankful for her willingness to come and be with us and Hudson-sit.  She was amazing, not only did she find time to read and re-read every book on the book shelf,  play cars and ball and other games, walk the town, she was also able to help us make a real Scandinavian feast to celebrate Saint Knuts day! Thanks Cindy!


 How many Grandma's do you know who are outside snowshoeing with their Grandkids?


Bedtime - Hudson and Cindy's favorite time of the day.

Hudson is already looking forward to Grandma's next visit!

Sunday, January 08, 2012

Grandma B is here!

And I have big plans for her. Which include teaching me how to sew, making window seat coverings, pillow cases and potentially curtains for the sun room. However, I think Hudson may have different plans for her.  They include reading, playing with balls, and lots of cuddling.  He's cuter than me and all together more fun. I have a feeling he will be first choice if she has to choose.  Let's hope she doesn't.  I have been wanting to post pictures of the room because I am so excited about the wall paper but I haven't because I really like a finished project...but as a motivational tool I am posting pictures before Cindy's visit in hopes that I can post pictures of a completed or almost completed room after Cindy's visit!


The Sunroom

The Window Seat...

 I also owe and huge thank you to another Betzler and my good friend Julie for making my wall paper dream a reality.  Wallpapering is stinking hard! I couldn't have done it without you Linnea and Julie.  Soon, I will have you over for scones and coffee and we can relax on the window seat and admire the paper. THANK YOU!

My competition, it's not looking good window seat.

Saturday, January 07, 2012

Make these cookies. RIGHT NOW!

I just had to post this recipe right away, so anyone craving chocolate could make them ASAP. These cookies are awesome.  I made them for myself for a Birthday dessert, hoping to have something chocolatey and delicious but semi-healthy.  These did the trick. They are gluten free, low in sugar and so quick and easy to make.

Ingredients -

1 cup Nut Butter (peanut, almond, cashew, whatever you have)
1 egg
1/2 tsp. Baking Soda
1/8 tsp. Baking powder
1/4 cup honey
1/4 cup sucanat (I bet other sweeteners would work (maple syrup) or  use 3/4 cup reg. sugar instead of honey& sucanat)
1/4 cup cocoa powder (I used dark)
1/3 cup (generous) oats

Mix everything together until combined. The dough will be a dense and feel a little different than normal dough. Roll into balls, bake 10-12 ms. at 350. ENJOY!!!!

Monday, January 02, 2012

The Kitchen Island

It has been a fun filled and busy last few months!  We had an absolutely wonderful time traveling home to see family and friends over Christmas and Thanksgiving that combined with the holiday hustle and bustle and small spill on the cpu (ops! Sorry Colin) has meant no time for blog post.  So we have a lot to catch up on...Starting with last year for Christmas gift from Colin - a handmade (from old doors) kitchen island!  It actually isn't as late as it seems, it did take him awhile to finish it, it took me a while to decide on a color, it took us awhile to move it and it took me awhile longer to take pics but here it is... 


The raw materials


 Almost done...

 In the kitchen.  
The color in the photos is a little off but it is a real pretty brown with a butcher block top. 
THANKS Colin - I LOVE IT!!!!! Can't wait for this years gift  - a handmade kick-sled so Hudson and I can brave the Wyoming winters and play around in the park in the snow.  Hopefully, I will be posting pics before 2013.

Wednesday, November 02, 2011

THE AUNTIES!!!!!!!!! And a killer gluten free recipe

Hudson is one lucky dude. Not only did he get lots of Grandparent love this month but he was also smothered in love by some of his sweet aunts! 
Meg and Hudson soaking up the sun.
Family hike up Steam Butte...
We didn't exactly make it to the top. Typical Emily style I had a few too many things planned that day and we had to turn around early :/ Sorry guys.


Linnea ♥'s Hudson 

Linnea somehow got roped into helping me put up wallpaper. I wouldn't say that wallpapering was fun, but Linnea definitely made it as enjoyable as possible.  Despite our best efforts we did not finish, I'll post pictures as soon as I do.  It might be awhile though, Colin doesn't have his sister's drive or interest in wallpaper.

Unlike the previous weekend,Linnea and I did make it to the top of Steam Butte! We went up with a group of wonderful women (can't believe I don't have group photo) to celebrate my dear friend Jessica's Birthday.  I made a gluten-free, white-sugar free, vegan carrot cake, I know sounds gross, but it was great and I got lots of recipe requests so here it is. I don't have a picture of the cake but it was good. Try it!

2 cups oat flour (I ground steal cut oats in the blender and then sifted to make the flour)
2 1/2 teaspoons baking powder

11/2 teaspoons cinnamon

3/4 teaspoon sea salt


1/2 cup vegetable oil

1/4 cup mejol dates, take out seed chop or blend into a paste

1/4 cup maple syrup
2 ripe bananas
11/2  cups grated carrots (I used the carrot pulp from my juicer plus ½ cup pumpkin to make up for lack of juice)

1/4 cup coconut milk
2 flax eggs (2 tbls. Ground flax plus 2 tbls. Water
Preheat oven to 350F. Line  9x5x3 or 8x8 cake pan with parchment paper.
Stir together the flour, baking powder, cinnamon, and salt.
Stir the dates into the melted butter, breaking up the dates a bit.
   In mixing bowl combine oil, dates, and maple syrup. Mix until incorporated. 
   Whisk in bananas, carrots (and pumpkin if using) coconut milk, and flax egg.  
   Add the flour mixture and stir until everything just comes together.  
   Mixture will be thick and chunky, spoon into the prepared pan. 
   Bake for about 50(ish) minutes or until a toothpick tests clean in the center of the cake.  
   Remove from oven and let cool.
     Adapted from  101 Cookbooks 


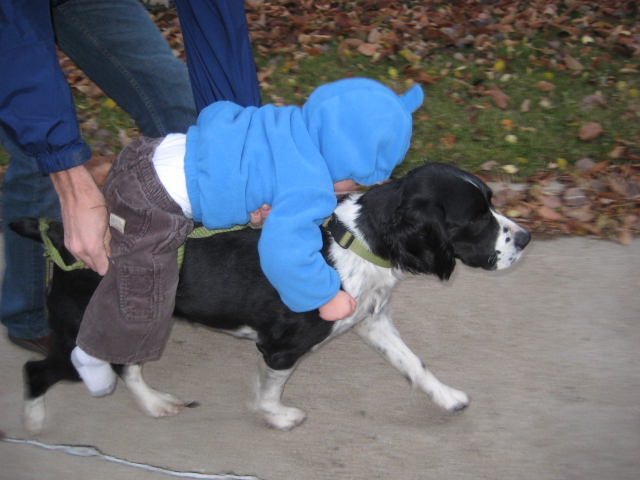
And just for fun, a pic of Hudson's new favorite way to go on a walk. Definitely not Luna's.

Tuesday, October 18, 2011

No such thing as too much grandparent love.

Hudson is a lucky lucky boy! He got to spend the last two weekends with his Grandparents.  They more than made up for his not-so-hot birthday week.


He has read more books, sang more songs, played more peek-a-boo, in the last two weeks than in his previous 12 previous months.


G-man and Hudson celebrating.

More celebrating.
I was not a huge fan of the blizzard indulgences after all my slaving in the kitchen to make healthy Birthday desserts, but what can you do?  I will, however, be making a healthy pumpkin pie blizzard, I'll keep you posted.


More books with Grandpa Betzler.


Cindy made Hudson a Birthday apple pie and tried to teach him to blow out the candles.  He wasn't so good at blowing the candles but he found another use for it...


We love grandparents!!!


Wednesday, October 12, 2011

The BIG H turns ONE!!!!

Wow, where does the time go? Hudson turned one last week. What an amazing year, who would have thought one little guy could change and change you so much in such a short amount of time!

Unfortunately, he was sick with his first ear infection so he wasn't in a very celebratory mood. We had fun none-the-less.
He liked the cowboy hat way more than the Birthday hat.

The Hs
Hudson and his two best lady friends.

We have really been re-vamping our eating habits at the Betzler household and I looked everywhere for a healthly, low-sugar Birthday dessert. I had a heard time finding a "white-sugar" free dessert...so I made one up. I thought I would share because it was delicious and so easy!


Healthy Chocolate Cake
1 1/2 cups whole wheat flour
1 cup maple syrup
1 tsp baking soda
½ tsp salt
1/3 cup cocoa powder
1/3 cup coconut oil
1 tsp cider vinegar
1 tsp vanilla
1 cup water
Mix everything together and beat for about one minute. Pour into greased pans.
Top with 3 oz. of chopped dark chocolate (70% cacao).
I used two circle pans. Bake at 350 for 18 ms. for circle pans or until tooth pick comes out clean (about 30 ms. if you use square pans). Once cool top the bottom layer with sliced pears, this gives the cake a moist icing like quality. Top pears with raspberries, strawberries or whatever fruit you want. Sprinkle with powdered sugar.

Warning : Obviously, the cake is not super sweet but it tasted great and is so nice to let the little ones chow down on something semi-nutrious.
Ohhh and it would be amazing with homemade vanilla ice cream.

Friday, September 23, 2011

We've come a long way...


It's official - summer is over. Fortunately, we finished painting the house just in time to sit back, relax, and enjoy the beautiful indian summer we are having. Hahaha, not so much. Poor Colin, the paint hadn't even dried when I told I was ready to start landscaping. He's a trouper and a really good digger. So now we have a painted house and some trees! We have come along way, but still have a ways to go. Landscaping is a foreign concept to me and I need help!!! So I am soliciting tips, ideas, and suggestions from all you skilled landscapers out there....

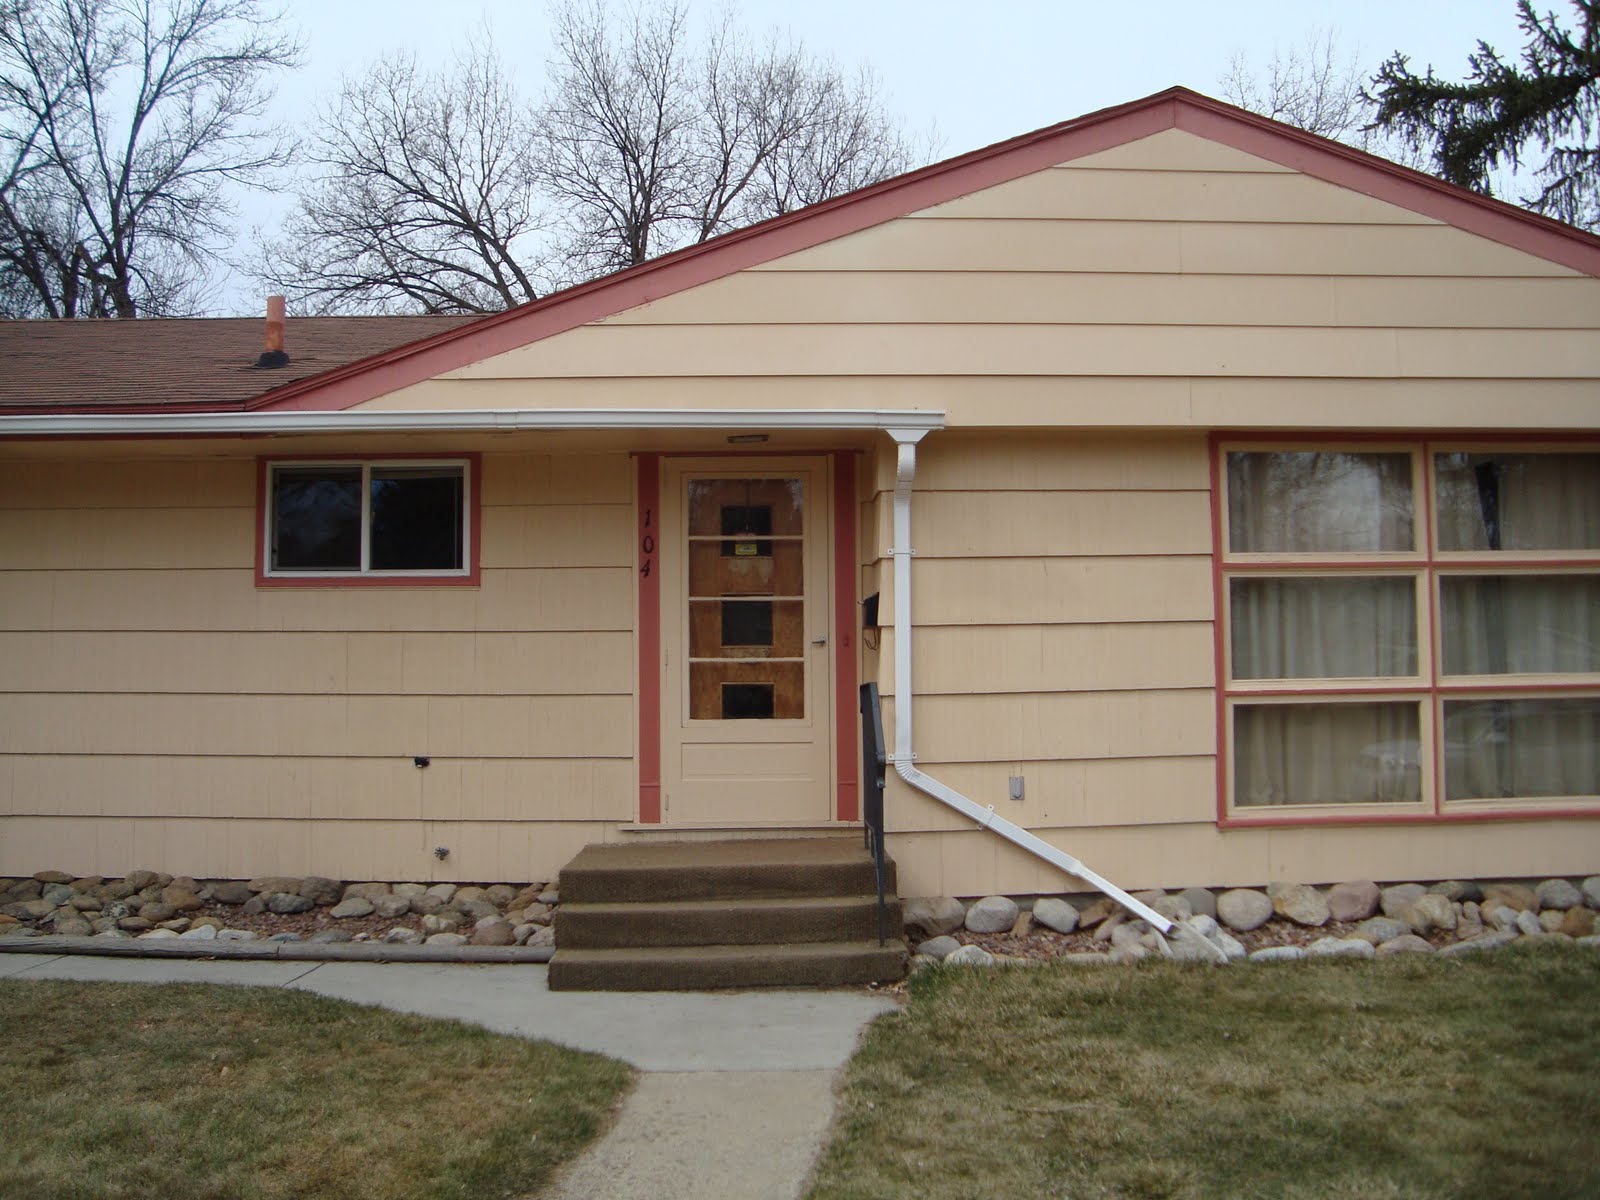
Here are some before and after pics of the house -

Before -
I can honestly say I don't miss the pink one bit.


The addition. The fence is in-progress.
View from the back. We still have lots of work to do back here but it's pretty hard to get much done with this cutie tooling around.

I just had to include this one from this summer because I can't believe that Gorgeous Great Grandma is turning 90!! What a looker!